

We wanted to provide a light-hearted and photo-filled read to get your mind off of everything life is bringing to us all. This is part 1 to a multi-part post about our trip. Enjoy!
We recently returned from a whirlwind, 10 day holiday in New Zealand. There is so much that we want to share from our trip that we can’t fit it in a single post. Here we’re going to dive into some of the nitty-gritty around camping.
It’s worth noting that aside from 24 hours in Auckland we spent our time exploring the South Island. The logistics would still apply to those visiting the North Island, but we can’t speak to places to visit in that area.
Going into this trip we knew we were going to be camping. While we’re not normally big campers, we had read and heard that is the best way to experience the country. In fact, many locals also prefer this method of travel. Thankfully it is so common, and the country is set up in such a way that camping was a total breeze.
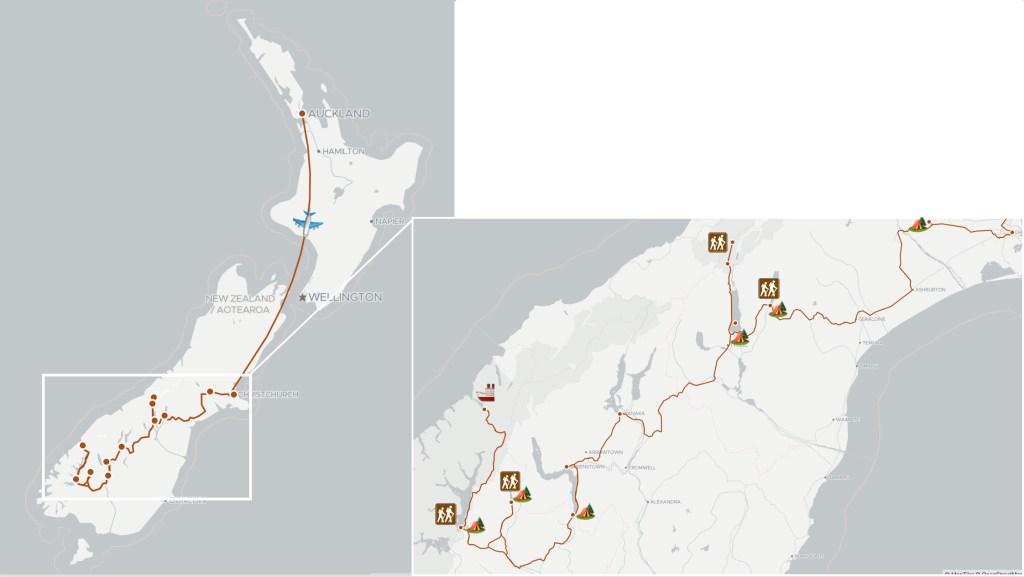
Itinerary
Day 1 – Auckland
Day 2 – fly Auckland to Christchurch, pick up campervan, camp in Whitecliffs Domain
Day 3 – Tekapo Lake hike, camp at Patterson Ponds
Day 4 – Mt. Cook hike, camp at Lake Pukaki
Day 5 – spend day in Wanaka, camp in Kingston (south Lake Wakatipu)
Day 6 – Te Anau hike, camp in Te Anau
Day 7 – Milford Sound boat ride, camp at Mavora Lake
Day 8 – Mavora Lake hike, spend night in Queenstown
Day 9 – Queenstown
Day 10 – Fly back to USA
Getting Around
There are many ways to get around New Zealand, but we would highly recommend driving. We chose to rent a campervan for our time, but there are plenty of Hotels and BnBs around if you’d prefer not to camp. We saw a lot of No Vacancy signs, so if you go that route be sure to make arrangements ahead of time.

Camping at Kingston Lake Camp 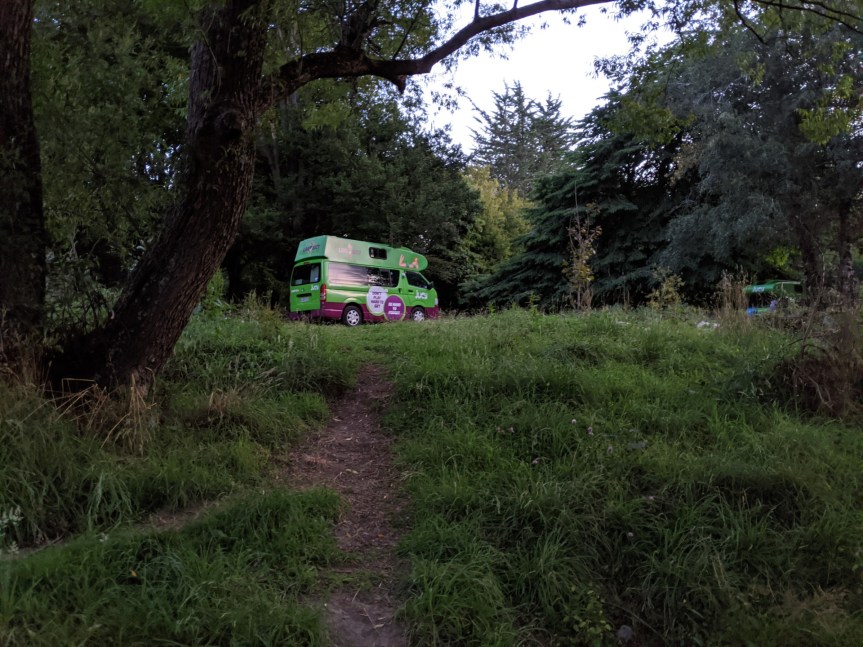
Whitecliff Domain camping area
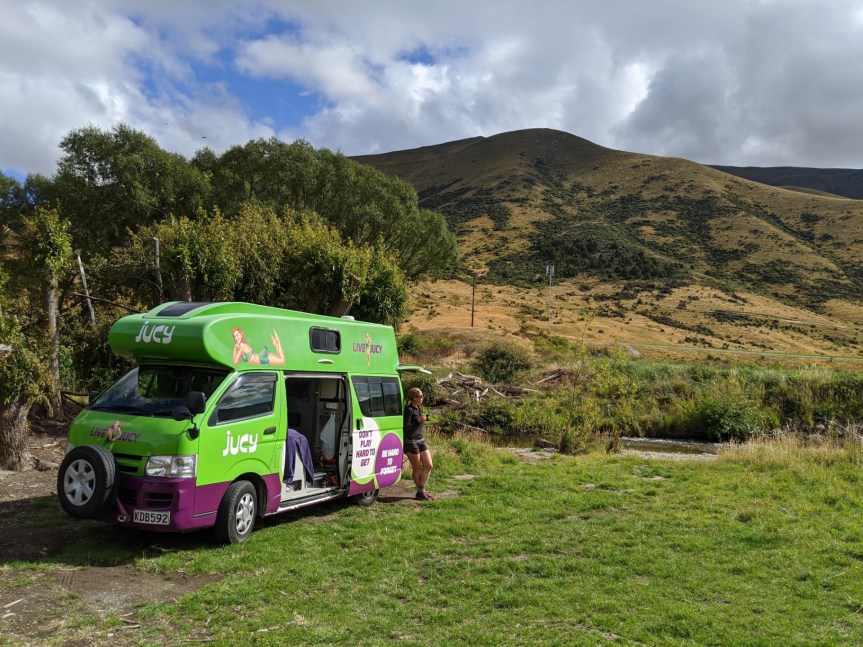
We rented our van through Jucy and had a few options to choose from. We went with the Jucy Chaser because it had a toilet and shower. We found plenty of public toilets around so didn’t have much use for that, but the shower was very nice to have after a long day. Overall, we were very pleased with the setup. The van had a bench seat that converted to a bed as well as a lofted bed. We chose to use the lofted bed since it was more comfortable for us, but we did use that space to store our luggage during the day. There was a small kitchen in the back with a two burner stove and a sink. We were able to cook most of our meals from the comfort of our van, including a delicious chicken curry :). The main downside for us was that the beds weren’t all that comfortable. We never really got a restful night’s sleep, but it was still lightyears better than tent camping.
We chose Jucy because it was a middle-of-the-road option that was small enough for us to be comfortable driving while also having the amenities we wanted. There are plenty of other companies out there offering different size vehicles at a price point for any budget. The main ones we saw on the road were: Britz, Maui (these two were typically larger campers), Travellers Autobarn, Mad Campers, and Escape. This post on TwoWanderingSoles has great information on how to select a campervan that meets your specific needs.

Camping
There are a few things to know before you plan to camp in New Zealand. The country encourages camping and many campsites have vault toilets, but all of the campsites we stayed at required your vehicle to be self-contained. At a basic level this means that you must be able to function without outside resources – you will need to ensure you have a toilet and a container to hold grey water. Rentals in New Zealand meeting these requirements will come with a sticker indicating they are self-contained.
We heard a lot about “freedom camping” prior to our trip, and (wrongfully) assumed this meant you could park and camp anywhere. While you technically can camp on public lands, it’s difficult to know exactly where those begin and end. At the risk of incurring a hefty fine, we opted to utilize the Campermate App which was beyond useful. This app aggregates data not only on available campsites (free, low cost, and holiday parks) but also on potable water, dumping stations, showers, toilets, etc. Not all, but many free campsites have vault toilets and running water (not potable!).

Full kitchen setup on the right, and the privy and shower “room” on the left in the campervan. 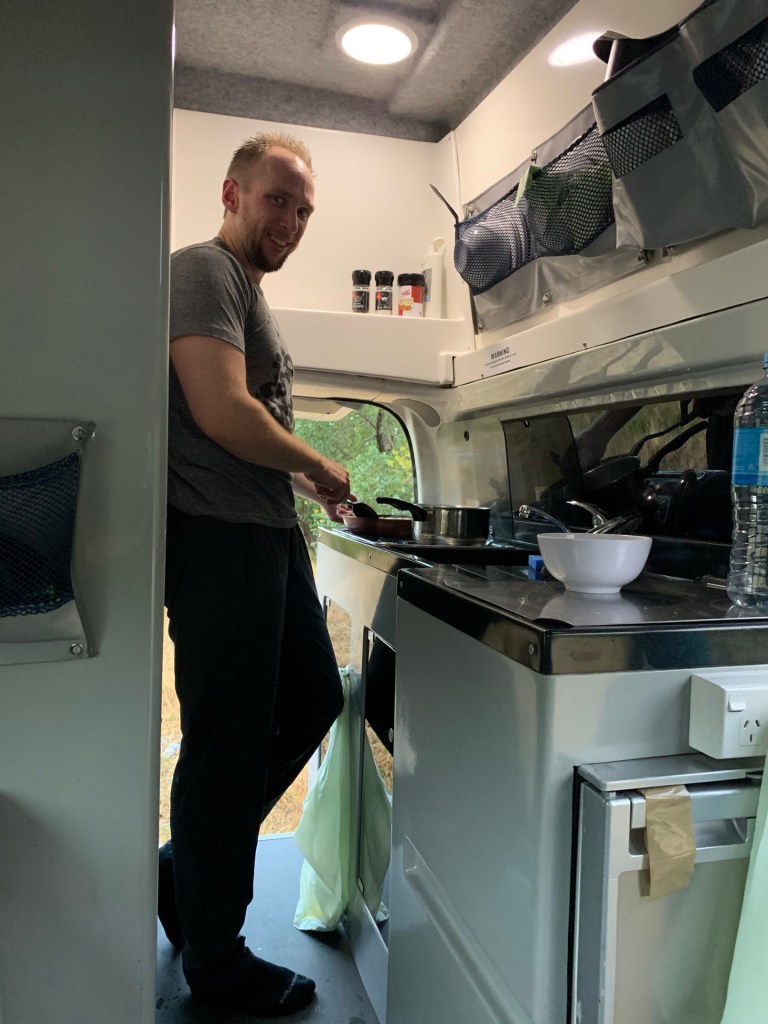
Matt cooking up a delicious meal in the camper van. 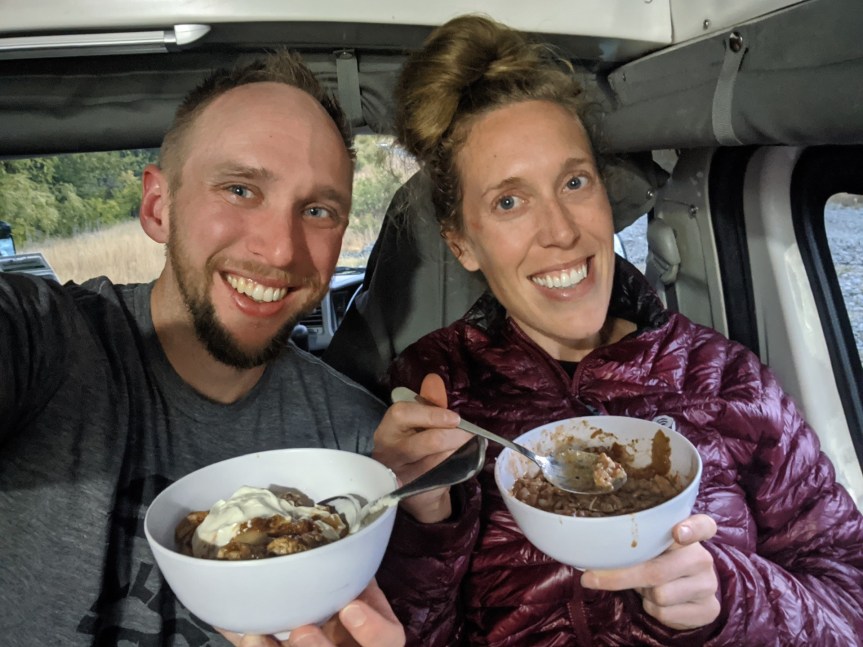
Eating some delicious campervan-made curry chicken after a long day of hiking. 
Typical NZ breakfast in the campervan, steel cut oats, sausages, eggs, and pour over coffee
We stayed at free campsites for 4 of the nights, a holiday park for one, and a low-cost campground operated by the Department of Conservation for one. By far our favorites were the free sites, but we can’t deny how nice it was to have a regular sized shower and full kitchen the night we stayed at a holiday park. Do take into consideration that most paid campsites charge per person not per vehicle so they can add a large expense on top of what you’ve already paid for the van.
We loved the flexibility that the campervan offered – we didn’t have to rush to a new hotel and could just pick a campsite based on how far we wanted to drive. It was also really nice to hop directly in the shower after a hike or pull over and brew up a cup of coffee. Overall, we highly recommend this mode of travel in New Zealand.

Awesome post! Definitely a great distraction! I hope to go to NZ soon looks gorgeous
LikeLike